
 by
by [Copied from – https://docs.microsoft.com/en-us/aspnet/core/security/authentication/azure-ad-b2c?view=aspnetcore-5.0]
Azure Active Directory B2C (Azure AD B2C) is a cloud identity management solution for web and mobile apps. The service provides authentication for apps hosted in the cloud and on-premises. Authentication types include individual accounts, social network accounts, and federated enterprise accounts. Additionally, Azure AD B2C can provide multi-factor authentication with minimal configuration.
Tip
Azure Active Directory (Azure AD) and Azure AD B2C are separate product offerings. An Azure AD tenant represents an organization, while an Azure AD B2C tenant represents a collection of identities to be used with relying party applications. To learn more, see Azure AD B2C: Frequently asked questions (FAQ).
In this tutorial, learn how to:
- Create an Azure Active Directory B2C tenant
- Register an app in Azure AD B2C
- Use Visual Studio to create an ASP.NET Core web app configured to use the Azure AD B2C tenant for authentication
- Configure policies controlling the behavior of the Azure AD B2C tenant
Prerequisites
The following are required for this walkthrough:
Create the Azure Active Directory B2C tenant
Create an Azure Active Directory B2C tenant as described in the documentation. When prompted, associating the tenant with an Azure subscription is optional for this tutorial.
Register the app in Azure AD B2C
In the newly created Azure AD B2C tenant, register your app using the steps in the documentation under the Register a web app section. Stop at the Create a web app client secret section. A client secret isn’t required for this tutorial.
Use the following values:
| Setting | Value | Notes |
|---|---|---|
| Name | <app name> | Enter a Name for the app that describes your app to consumers. |
| Include web app / web API | Yes | |
| Allow implicit flow | Yes | |
| Reply URL | https://localhost:44300/signin-oidc | Reply URLs are endpoints where Azure AD B2C returns any tokens that your app requests. Visual Studio provides the Reply URL to use. For now, enter https://localhost:44300/signin-oidc to complete the form. |
| App ID URI | Leave blank | Not required for this tutorial. |
| Include native client | No |
Warning
If setting up a non-localhost Reply URL, be aware of the constraints on what is allowed in the Reply URL list.
After the app is registered, the list of apps in the tenant is displayed. Select the app that was just registered. Select the Copy icon to the right of the Application ID field to copy it to the clipboard.
Nothing more can be configured in the Azure AD B2C tenant at this time, but leave the browser window open. There is more configuration after the ASP.NET Core app is created.
Create an ASP.NET Core app in Visual Studio
The Visual Studio Web Application template can be configured to use the Azure AD B2C tenant for authentication.
In Visual Studio:
- Create a new ASP.NET Core Web Application.
- Select Web Application from the list of templates.
- Select the Change Authentication button.

- In the Change Authentication dialog, select Individual User Accounts, and then select Connect to an existing user store in the cloud in the dropdown.

- Complete the form with the following values:TABLE 2SettingValueDomain Name<the domain name of your B2C tenant>Application ID<paste the Application ID from the clipboard>Callback Path<use the default value>Sign-up or sign-in policy
B2C_1_SiUpInReset password policyB2C_1_SSPREdit profile policy<leave blank>Select the Copy link next to Reply URI to copy the Reply URI to the clipboard. Select OK to close the Change Authentication dialog. Select OK to create the web app.
Finish the B2C app registration
Return to the browser window with the B2C app properties still open. Change the temporary Reply URL specified earlier to the value copied from Visual Studio. Select Save at the top of the window.
Tip
If you didn’t copy the Reply URL, use the HTTPS address from the Debug tab in the web project properties, and append the CallbackPath value from appsettings.json.
Configure policies
Use the steps in the Azure AD B2C documentation to create a sign-up or sign-in policy, and then create a password reset policy. Use the example values provided in the documentation for Identity providers, Sign-up attributes, and Application claims. Using the Run now button to test the policies as described in the documentation is optional.
Warning
Ensure the policy names are exactly as described in the documentation, as those policies were used in the Change Authentication dialog in Visual Studio. The policy names can be verified in appsettings.json.
Configure the underlying OpenIdConnectOptions/JwtBearer/Cookie options
To configure the underlying options directly, use the appropriate scheme constant in Startup.ConfigureServices:C#Copy
services.Configure<OpenIdConnectOptions>(
    AzureAD[B2C]Defaults.OpenIdScheme, options =>
    {
        // Omitted for brevity
    });

services.Configure<CookieAuthenticationOptions>(
    AzureAD[B2C]Defaults.CookieScheme, options =>
    {
        // Omitted for brevity
    });

services.Configure<JwtBearerOptions>(
    AzureAD[B2C]Defaults.JwtBearerAuthenticationScheme, options =>
    {
        // Omitted for brevity
    });
Run the app
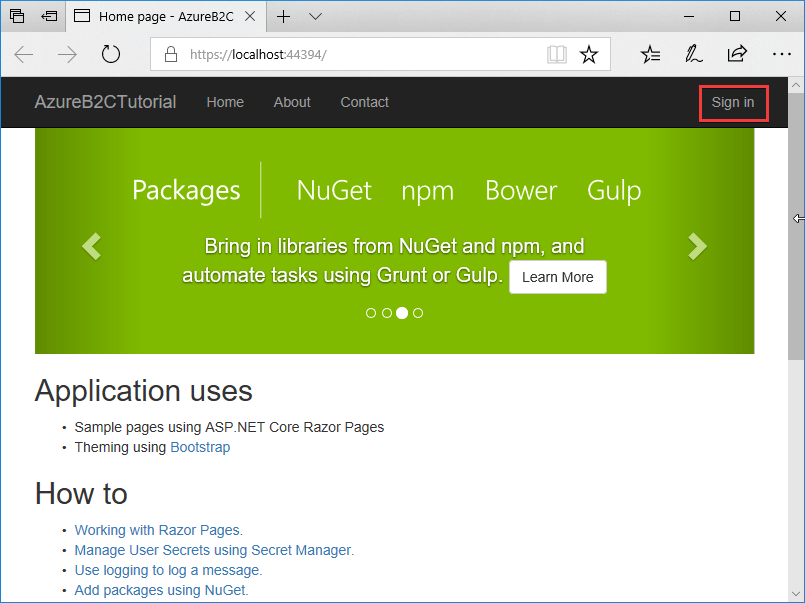
In Visual Studio, press F5 to build and run the app. After the web app launches, select Accept to accept the use of cookies (if prompted), and then select Sign in.
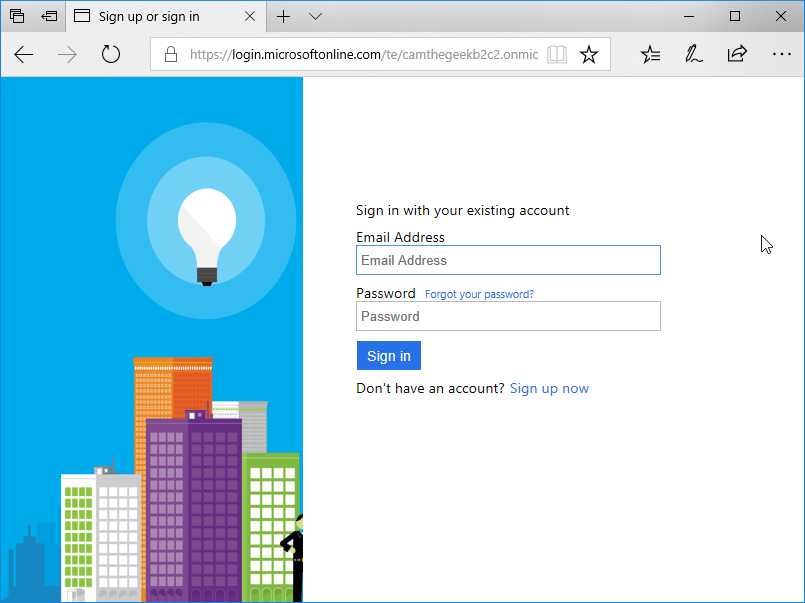
The browser redirects to the Azure AD B2C tenant. Sign in with an existing account (if one was created testing the policies) or select Sign up now to create a new account. The Forgot your password? link is used to reset a forgotten password.
After successfully signing in, the browser redirects to the web app.

Next steps
In this tutorial, you learned how to:
- Create an Azure Active Directory B2C tenant
- Register an app in Azure AD B2C
- Use Visual Studio to create an ASP.NET Core Web Application configured to use the Azure AD B2C tenant for authentication
- Configure policies controlling the behavior of the Azure AD B2C tenant
Now that the ASP.NET Core app is configured to use Azure AD B2C for authentication, the Authorize attribute can be used to secure your app. Continue developing your app by learning to:
- Customize the Azure AD B2C user interface.
- Configure password complexity requirements.
- Enable multi-factor authentication.
- Configure additional identity providers, such as Microsoft, Facebook, Google, Amazon, Twitter, and others.
- Use the Azure AD Graph API to retrieve additional user information, such as group membership, from the Azure AD B2C tenant.
- How to secure a Web API built with ASP.NET Core using the Azure AD B2C.
- Tutorial: Grant access to an ASP.NET web API using Azure Active Directory B2C.
Useful links
ASP.NET 5 (Core) / Azure AD B2C / SSO / Custom Policies – https://iqunlock.com/aspnetcore-sso-authentication-with-b2c/